I’ve been wanting to take a calligraphy class for years. The other day I was at the Amazon store at Palisades village and spotted the Tombow Dual Brush Pens in Pastel Palette and knew it was a sign that I needed to start!
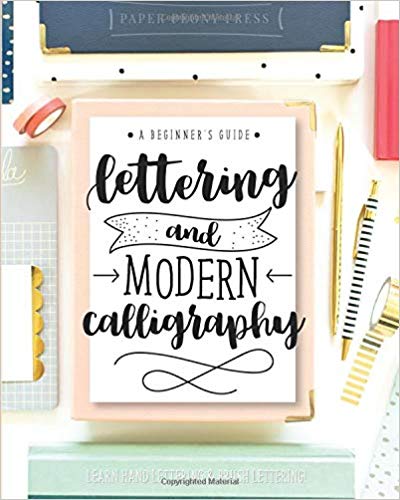
I found the Lettering and Modern Calligraphy Book and went to work teaching myself.
PS I’m going to be referring to this as “calligraphy” but it’s actually modern calligraphy/hand lettering. Traditional calligraphy uses an ink pen and looks more formal.
What To Know About Calligraphy and Hand Lettering Before You Start
- You can do this. No matter what doubts or resistance or defenses are popping into your brain right now I promise that anyone can do this. You don’t need a bunch of fancy supplies or to be born with a gift. You just need something to write with and something to write on plus a little patience and grace for yourself.
- You do not have to have nice handwriting to be good at calligraphy, but doing calligraphy has actually improved my handwriting. I also loved this “how I improved my handwriting” video and got some ideas from there.
- It takes a lot of practice and at first you are going to be pretty terrible at it. Don’t be so hard on yourself. Put dates on your practice pages to see how far you’ve come! I practice nearly every day- while eating my lunch, while watching TV, to study, when I’m bored, etc.
- If things aren’t looking right- SLOW DOWN
- Calligraphy is not cursive. The letters are not supposed to be written in a connected fashion like cursive is.
- It’s a great super relaxing creative outlet that can be done while watching your favorite shows on Bravo
What Supplies You Need for Calligraphy
Calligraphy Pens or Markers
If you’re just starting you don’t need the most expensive supplies ever. You basically need something to write with (pens, paint brush, markers, etc) and something to write on (printer paper, lined paper, graph paper, cardstock, etc)
Crayola Markers
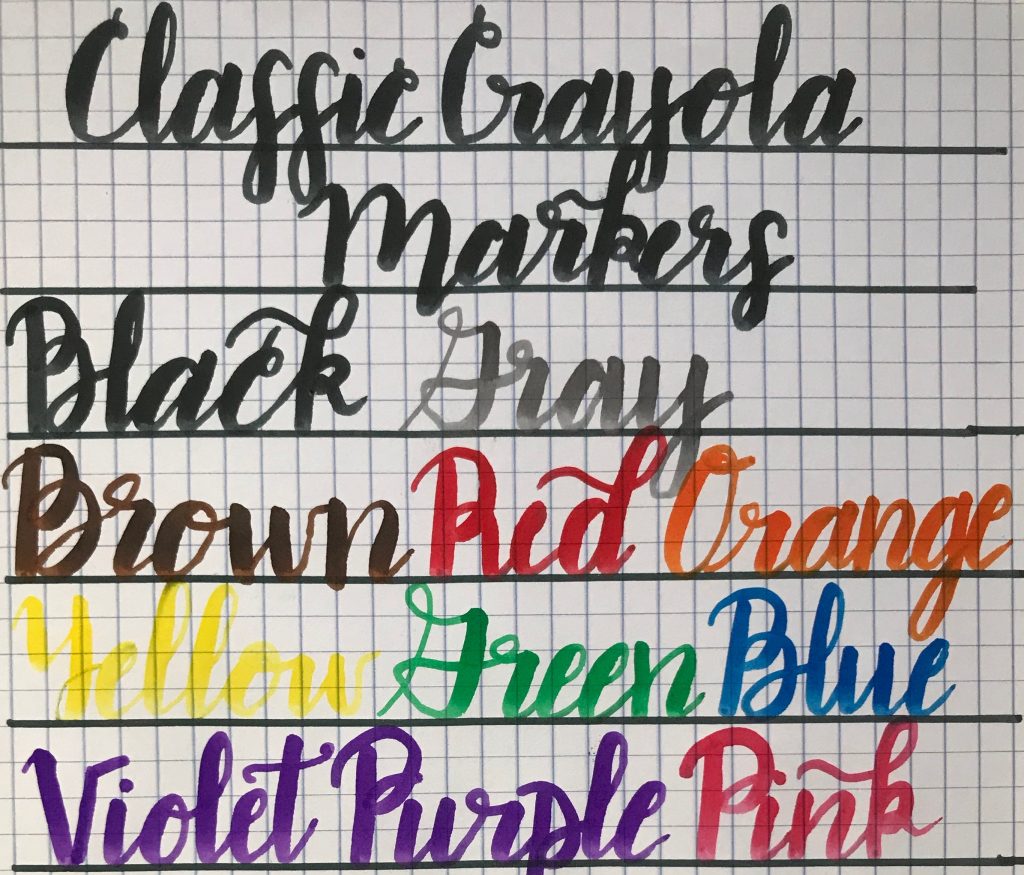
Classic Crayola Markers
In fact, you can start with good old classic Crayola Markers (10 Pack). Check out this video on How To Do Crayola Calligraphy – My Tips, Tricks & Hacks for Beginners.
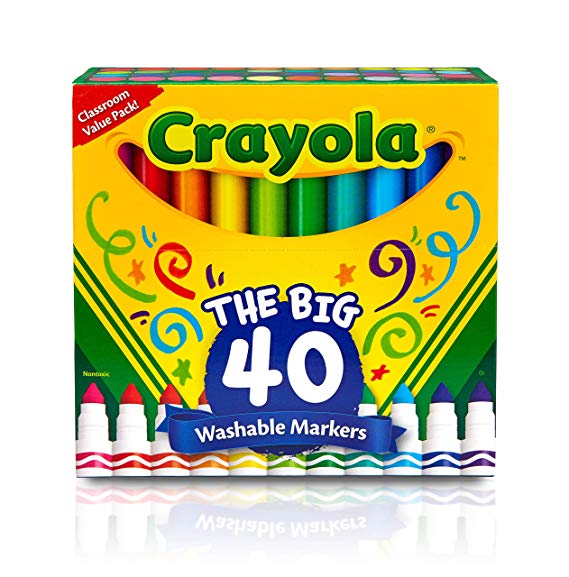
Crayola Markers 40 Pack if you want more color variety
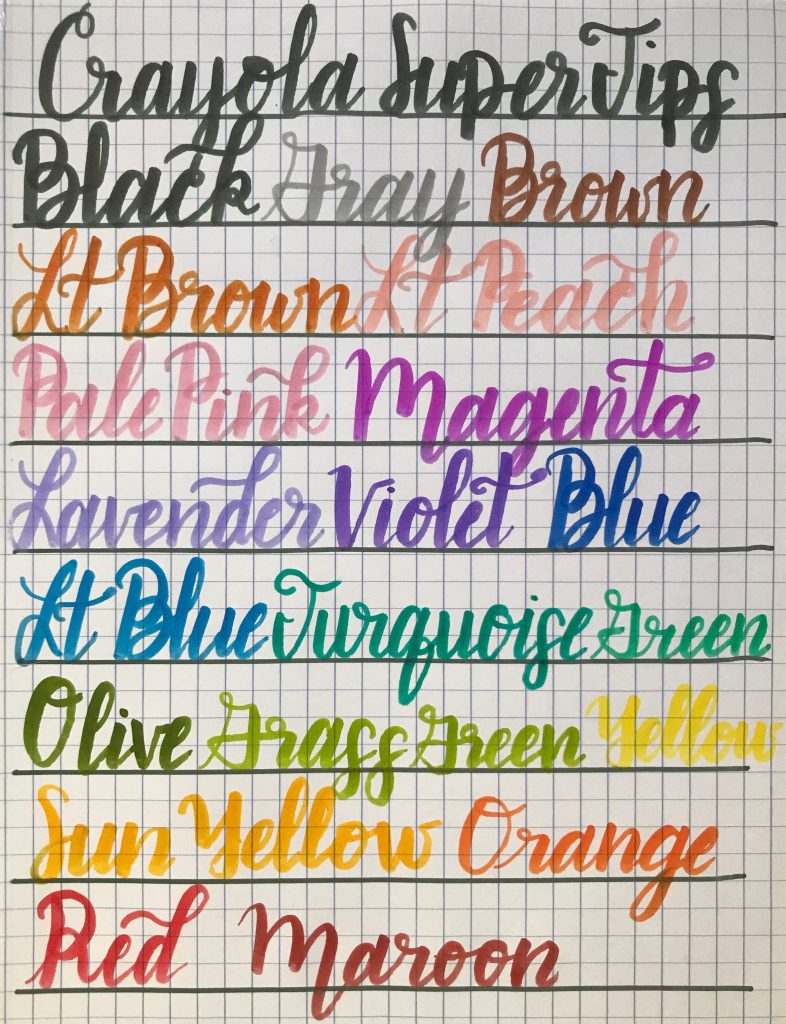
Crayola Super Tips
Crayola Super Tips Markers also work, but produce a thinner line which means your thin/thick contrast isn’t going to be as obvious. They’re also really affordable with a huge color selection. If you’re just starting out I suggest the thicker classic markers, but if you’re starting to expand and want more colors without a big investment you can try these.
Sharpie Markers
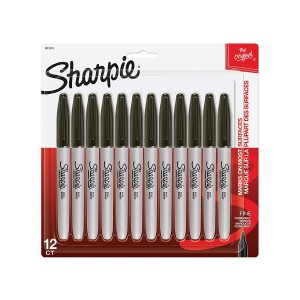
Standard Sharpie Markers
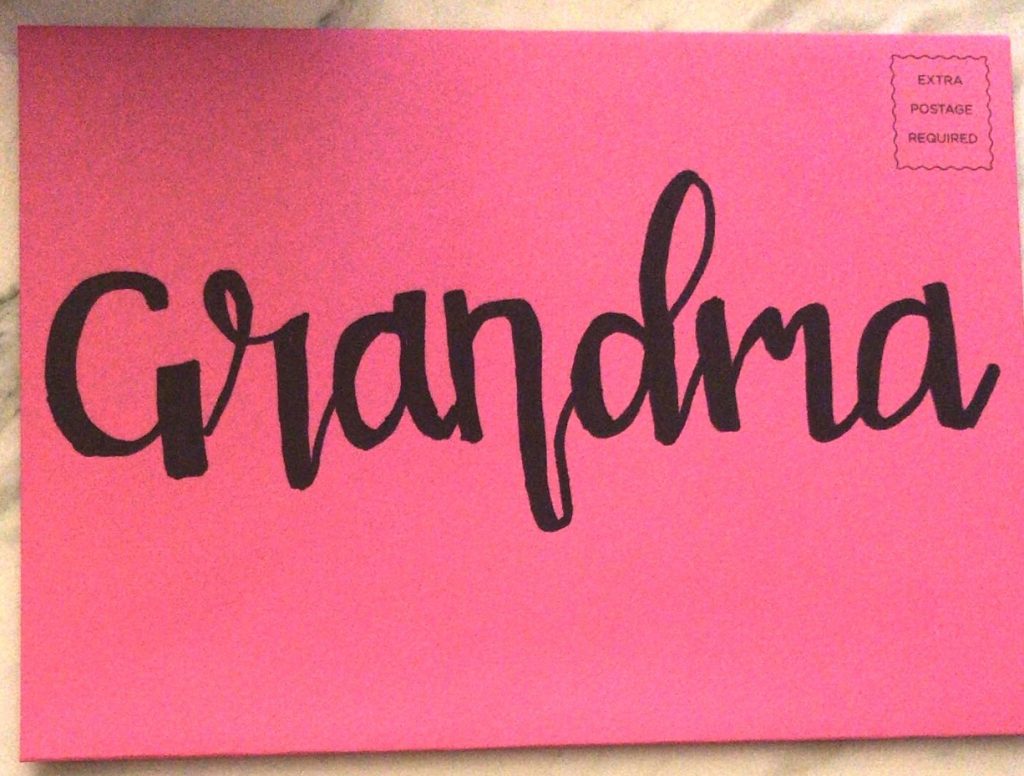
You can also use a standard sharpie marker if you have them around. Be sure to use a clip board or put something under your paper so they don’t bleed through to the table. This will work for faux calligraphy as well which is a great technique for beginners.
Here’s an example of faux calligraphy using a regular Sharpie marker. This was one of the first pieces I did after I started learning. Calligraphy adds a nice little flair to cards and makes them extra special.
Sharpie Brush Pens
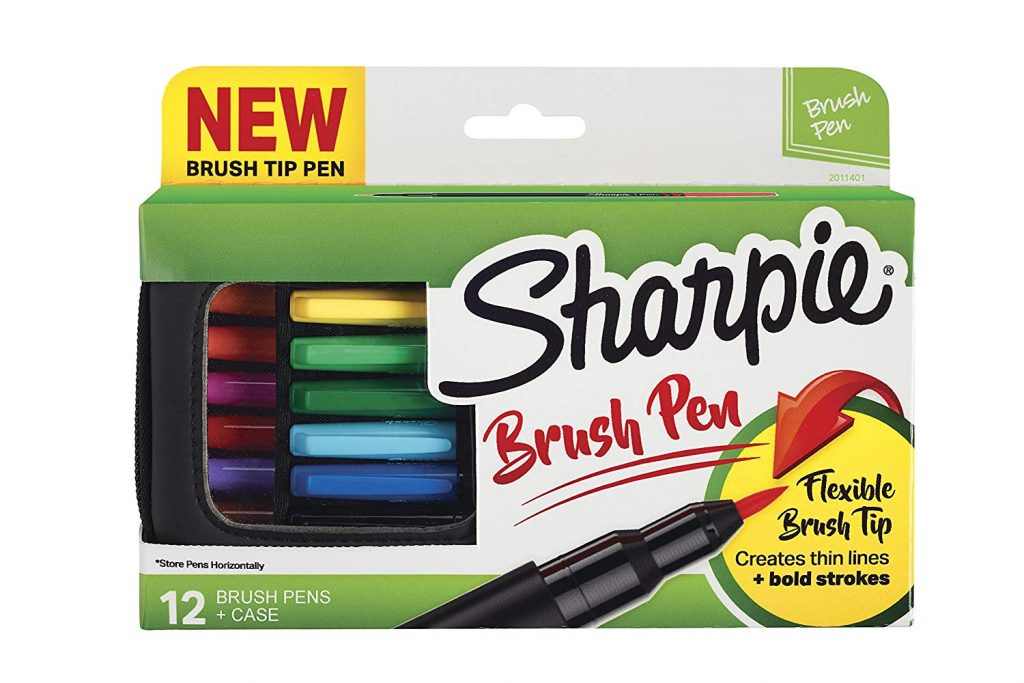
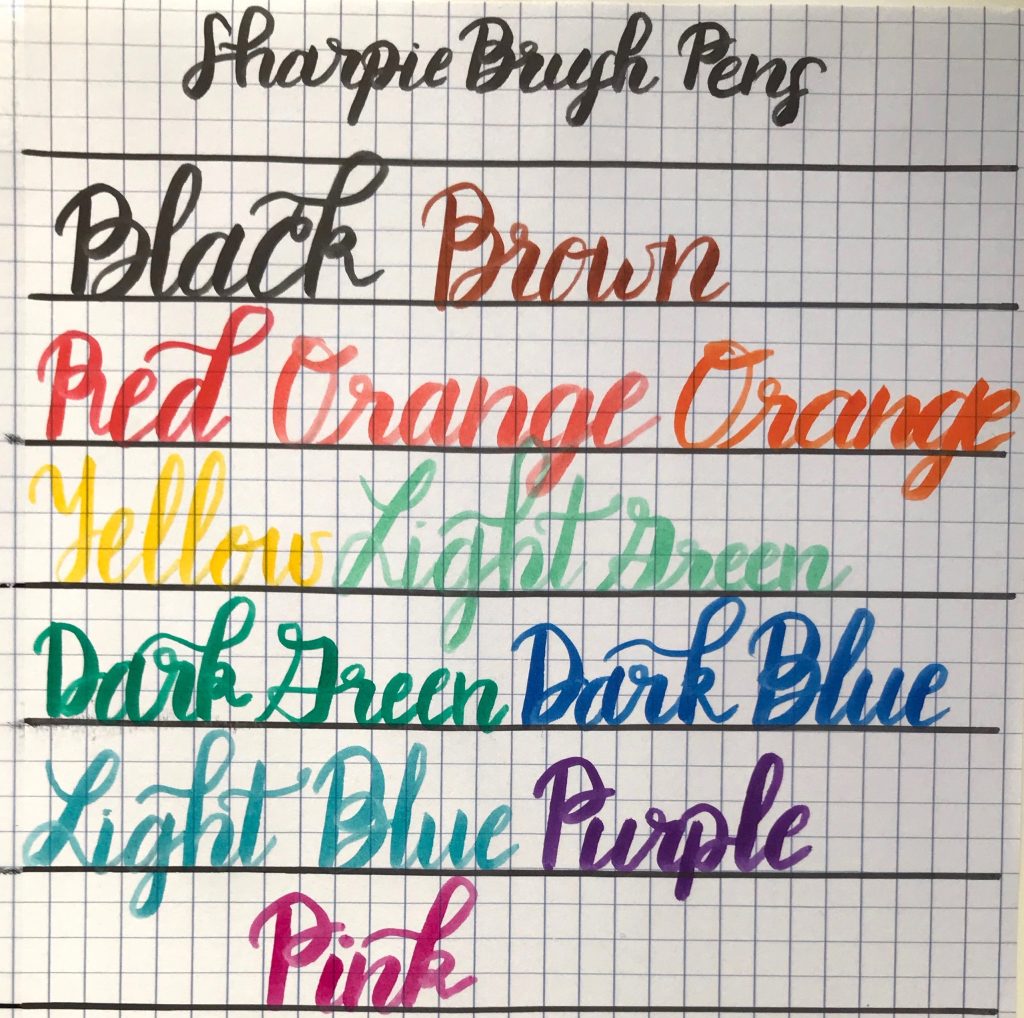
My next set of markers I bought after Tombows were the Sharpie Brush Pens. These pens have a shorter and slightly less flexible tip than the Tombows which make them much easier to control. The colors are super bright, vivid, and beautiful. BUT they dry out SO FAST. I still use them because when you let them rest then use them again you can get some ink out, but you just never know when they’re going to fade on you. It’s tragic!!
Sharpie Brush Tip Permanent Markers
Sharpie also makes bigger Brush Tip Permanent Markers, but the reviews say they too dry out quickly.
Tombow Dual Brush Pens
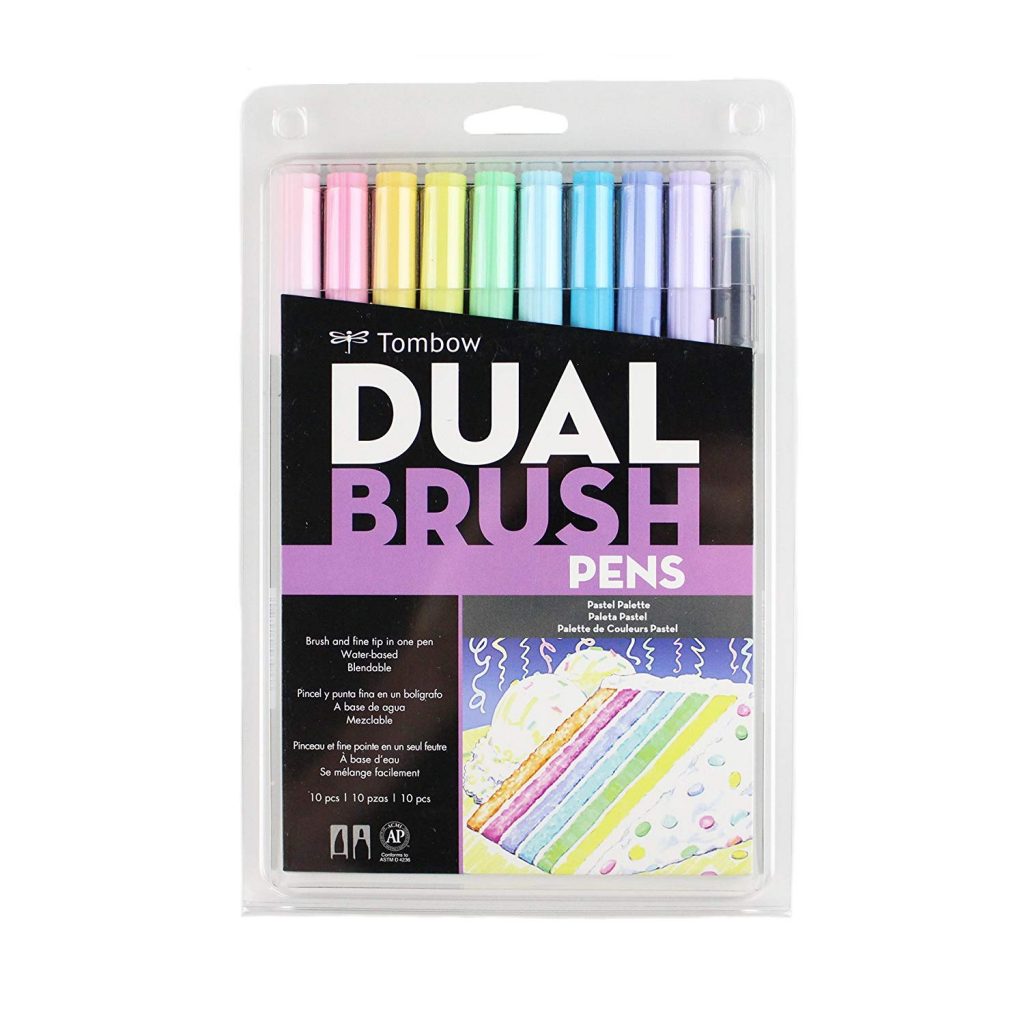
Tombow Dual Brush Pens in Pastel Palette
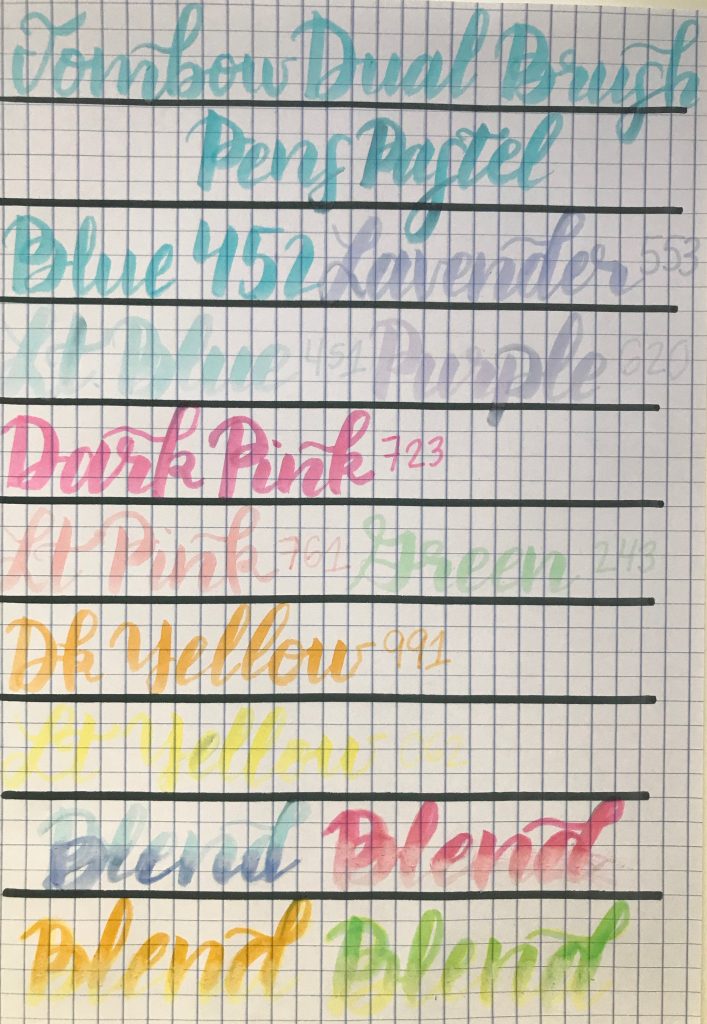
The Tombow Dual Brush Pens in Pastel Palette were the first set of pens that I bought. These are a favorite in the modern calligraphy/hand lettering community. They’re slightly more difficult to use for beginners due to the longer and more flexible brush tip because it gives you less control over the stroke. The colors of these are gorgeous and this is a great set of pens. Just beware that they take practice!
You can blend the pens together like you can see at the bottom of the example above.
Paper for Calligraphy
I use a variety of paper for calligraphy practice. You can use standard printer paper which you will quickly find out can vary widely. Heavier cardstock paper is nice because for most pens you won’t be able to see through the paper so you can fully use both sides. Having paper with lines or graph paper is helpful to work on making more consistent strokes. I’ll often use old notebooks because they keep all of my practice pages organized and I can see my progress over time.
Printer Paper
Smoother paper will keep your brush tips on your markers from fraying quickly.
HP Premium32 Printer Paper
Most of the experts I watch use and recommend the HP Premium 32 Paper which I have not tried yet. They say it gives the best color payoff for the markers. It’s also very smooth which is important so the tips of your pens don’t fray.
Rhodia Notepad
The Rhodia notepads are also very popular due to their exceptionally smooth finish. They have tiny dots instead of lines or grids for guide lines.
Graph Paper
The marker examples from above are all on Target Up & Up graph paper. Here’s some similar Five Star graph paper.
Calligraphy Ideas
So you’ve got your supplies and you’re on your way. After you’ve learned the alphabet and are doing lots of practicing you tend to run out of things to write. Here’s some ideas on things you can hand letter:
- Favorite quotes (I like ridiculous Housewives quotes)
- Study Notes
- Names on notes or envelopes
- Practice a foreign language
- Anything you want to memorize i.e. bible verse, song lyrics
- Mantras – I like to do money mantras like “Money flows to me easily and effortlessly”
- Sometimes I’ll just write the name of anything I see around me
- Goals
- List of accomplishments
- To do list
- Brain dump
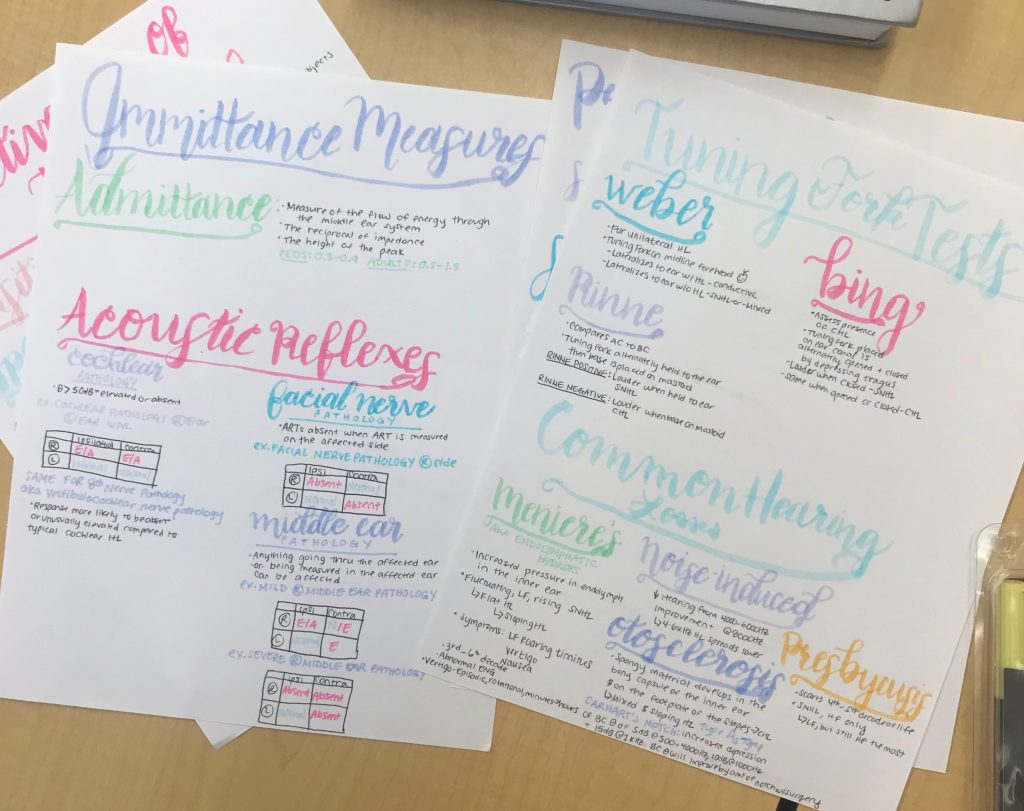
Here’s an example of me using my Tombow pens to add a little pizzaz on study notes for a professional exam
Videos that Helped Me Teach Myself Calligraphy
Before You Start/Advice for Beginners
Pep Talk About Hand Lettering/Calligraphy – You must practice everyday, your lettering will never look exactly like anyone else’s, what you do yourself is beautiful because it belongs to you, buying all of the things won’t make you better, don’t make excuses, just do it! Just try!
5 Handlettering Mistakes You Might Be Making – Slow down, lift your pen, product recommendations for beginners, differences between papers, you don’t have to spend a lot of $ to be good, basic drills, don’t compare yourself to others
Beginning Lettering Videos
- How To: Calligraphy & Hand Lettering for Beginners! Tutorial + Tips!
- Faux Calligraphy Basics
- Beginner Mistakes: Don’t Write the Alphabet – Practice basic strokes instead of every letter i.e. overturn and compound curve
- Using Crayola Markers for Hand Lettering – Brush pens vs. Crayola markers- grip, strokes, etc
- Brush Lettering Alphabet with Tombow Pens – Including how to add drop shadows
Basic Strokes
- How to Make Thick & Thin Strokes with a Brush Pen – Make sure you’re pushing hard enough on downstrokes to make a contrast between thin and thick
- How to Get Thin Upstrokes in Handlettering
- Best Calligraphy Tips: Improve Your Ovals & Brush Pen Technique – The oval is in many letters – a, b, d, g, o, p, q and is a difficult stroke- these are great tips about how to improve.
- How to Write Pretty Loops in Calligraphy
- Beginner Calligraphy Tips: Underturns
consistency tips
- Calligraphy Help: How to Make Your Strokes Consistent – writing “minimum” to make the strokes more consistent.
- How to Improve Your Lettering Consistency
- Calligraphy Mistakes: Stop Crowding Letters
After You’ve Started – Expanding Your Skills
- How to Do Crayola Calligraphy
- How to Angle Your Letters for Calligraphy – How to write straight/with a very consistent angle, drills/guidelines, tips/tricks
- Bouncy Lettering – Tutorial on how to make bouncy/more informal and decorative lettering
- How to Blend with Tombows – Horizontal and vertical blending with and without the blending pen

