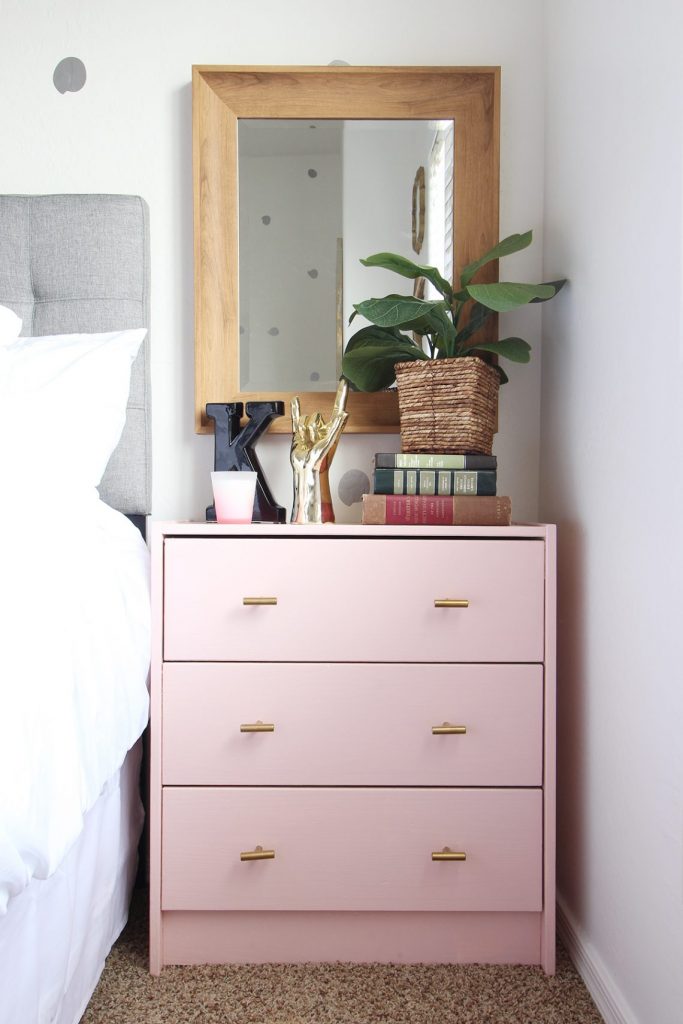
I saw this DIY IKEA RAST Nightstand on Classy Clutter and became OBSESSED. I NEEDED it. I’m not super confident in my DIY skills. I mess up approximately 100% of projects I attempt. Luckily I had some friends encourage me along the way! If I can do this, literally anyone can. Plus my DIY Ikea ALEX Vanity is my most popular post of all time, so I figured you all would like to know more!
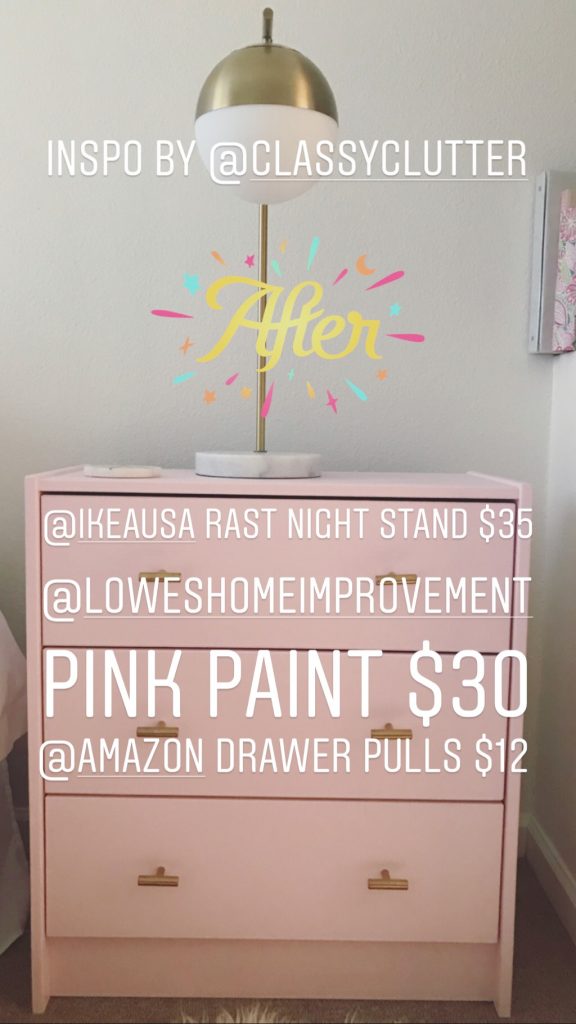
My inspo- the Classy Clutter DIY IKEA RAST pink nightstand:
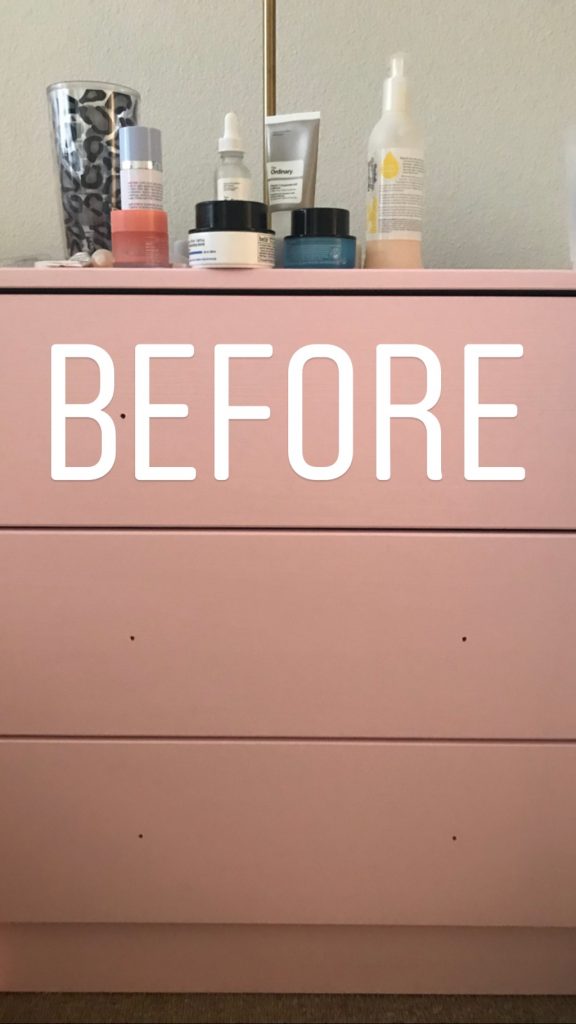
Before I made this nightstand I actually had a wood filing cabinet that I bought for $10 at a garage sale when I first moved to LA as my nightstand.
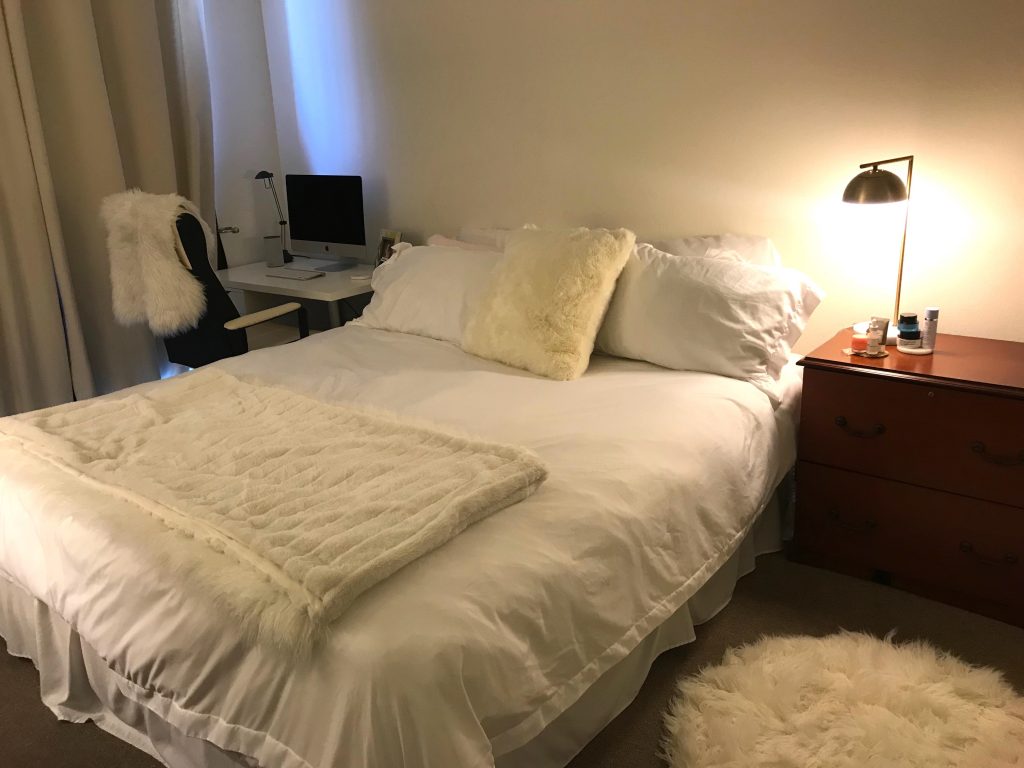
Bedding: AmazonBasics Microfiber Duvet Cover Set – King, Bright White.
Bedside Lamp: Geneva Glass Globe with Marble Base Task Lamp Brass – Project 62™ from Target
Rug: Faux Fur Rug (3′ Round) White – Pillowfort from Target
Desk Chair: IKEA MILLBERGET swivel chair, Kimstad white
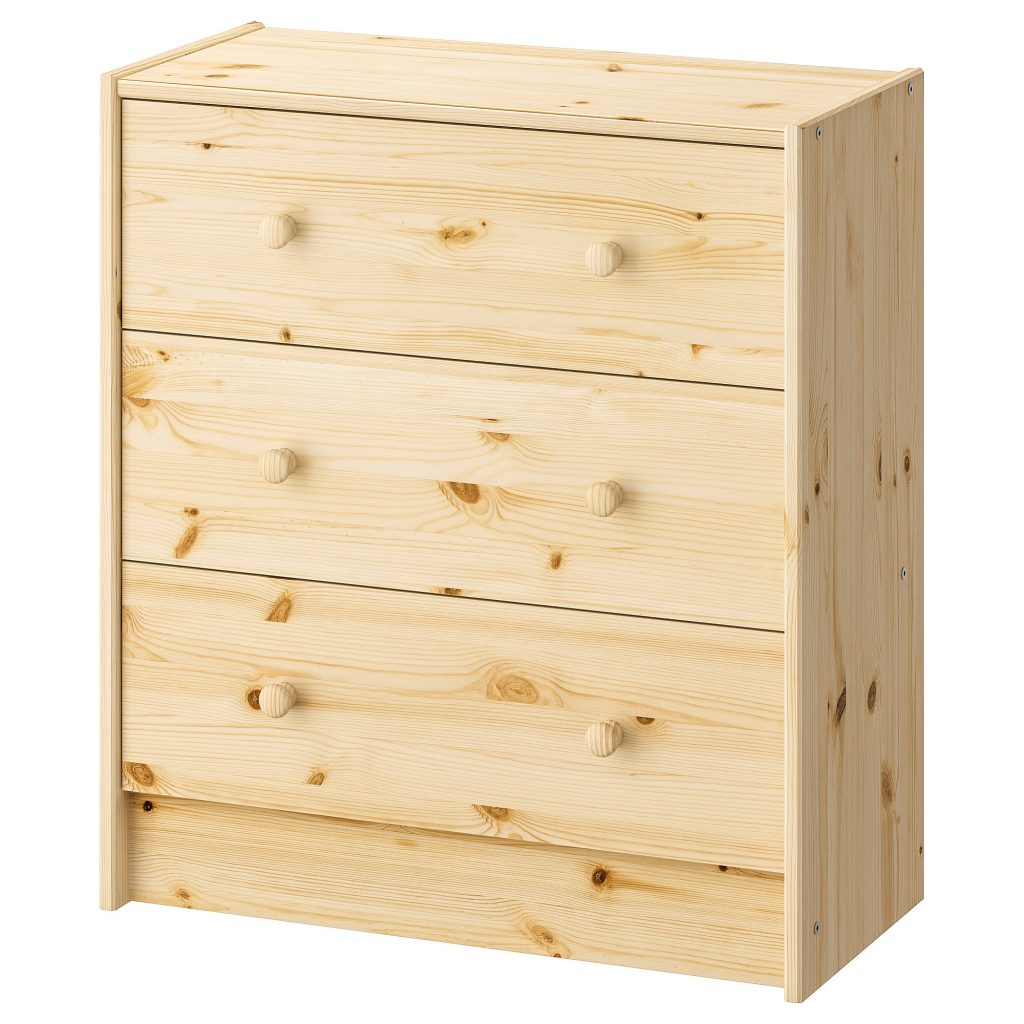
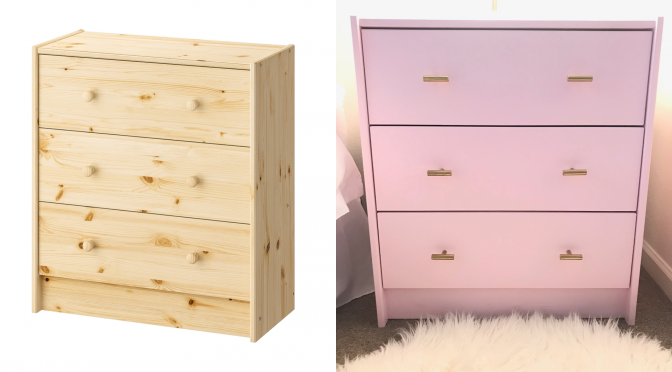
IKEA RAST 3-drawer Chest
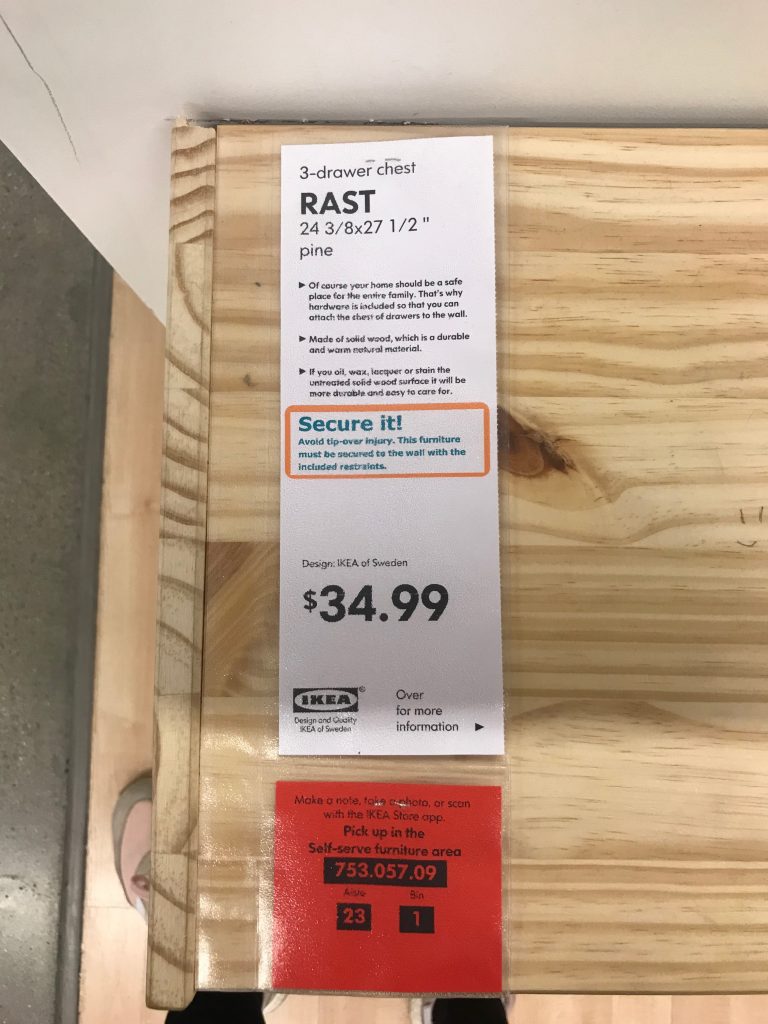
I went to IKEA and found the IKEA RAST 3-drawer chest which was $34.99 (but is $39.99 online). You can also buy the IKEA RAST 3-drawer chest on Amazon for a little bit more $.
IKEA hack: I always take photos of the tags so I know what aisle to find the item in and also all of the measurements!
IKEA RAST Size: This is a small chest of drawers so it’s really going to work best as a nightstand, for socks/underwear, or for baby or children’s clothing.
Measurements:
Width: 24 3/8″ / 62 cm
Depth: 11 3/4″ / 30 cm
Height: 27 1/2″ / 70 cm
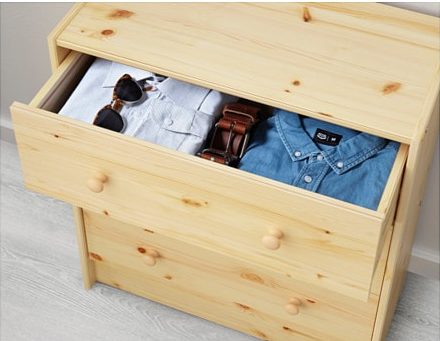
IKEA RAST Materials: The main parts/drawer sides/drawer backs are all solid pine and the back/drawer bottom are fiberboard.
IKEA RAST Assembly
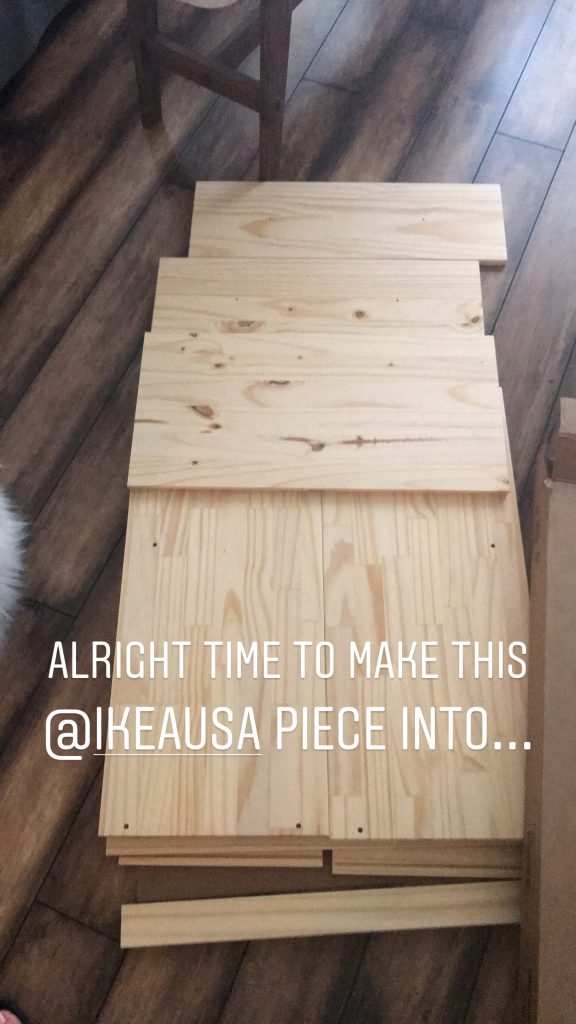
I assembled the IKEA RAST 3 drawer chest according to the directions and it took me.. maybe an hour or 2? I’m pretty slow at these types of things. If you want to outsource this job try TaskRabbit. You can use my link to get $10 off your first task.
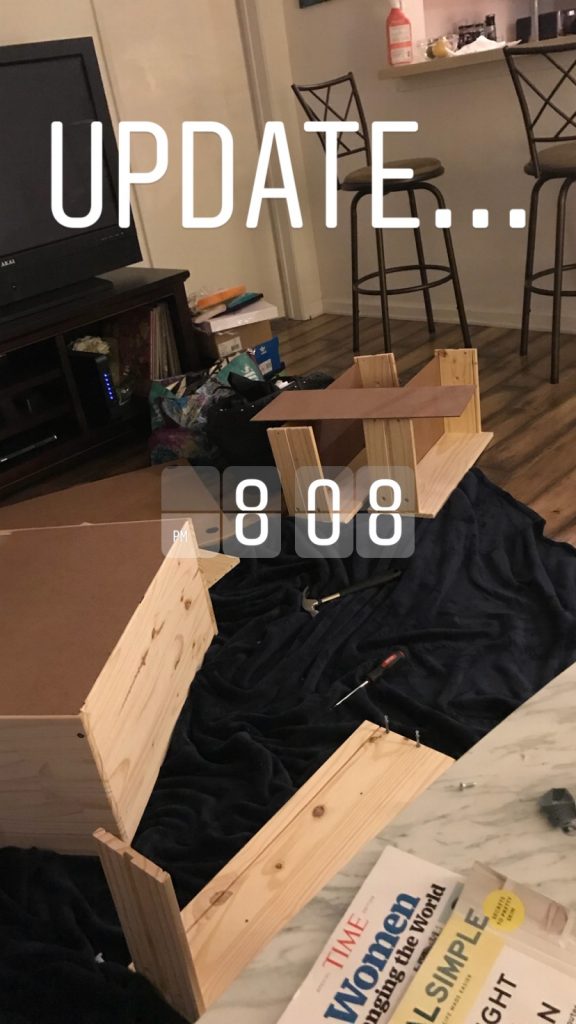
You’ll need: A Phillip’s head screwdriver and a hammer for assembly. I have the IKEA FIXA 17-piece tool kit ($10) which works pretty well for most IKEA assembly. I also put a blanket down to protect my floors since you have to hammer some of the parts into the drawers.
I put the entire set together including the drawers to make sure everything was fitting well (but left off the door knobs). I then took the drawers out in order to paint the IKEA RAST 3 drawer chest.
Painting the IKEA RAST 3 Drawer Chest
What you’ll need: assembled IKEA RAST 3 drawer chest without the door knobs and take the drawers out of the chest, drop cloth to protect the floor (get a big one so you can paint and dry everything at the same time), paint, paint brush or sponge, paint tray if your brush will not fit into the paint can. This $15 paint kit from amazon would be more than enough.
What I did not use: I did not sand or prime the drawers in any way. I did not use any kind of top coat either.
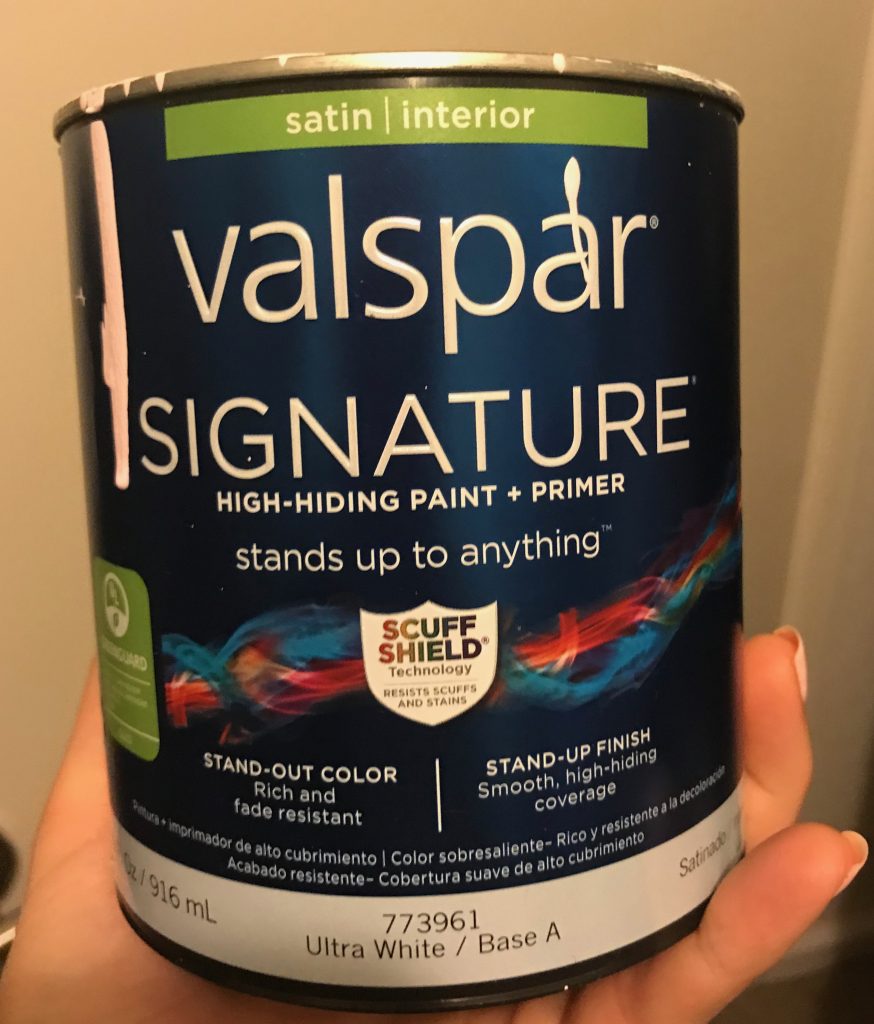
Pink Paint for furniture: Per the recommendation from the Lowe’s employee I used the Valspar Signature High Hiding Paint + Primer in Plie Pink. This is a satin/interior paint. I bought a quart of the paint for about $30 which was more than enough for 2-ish layers.
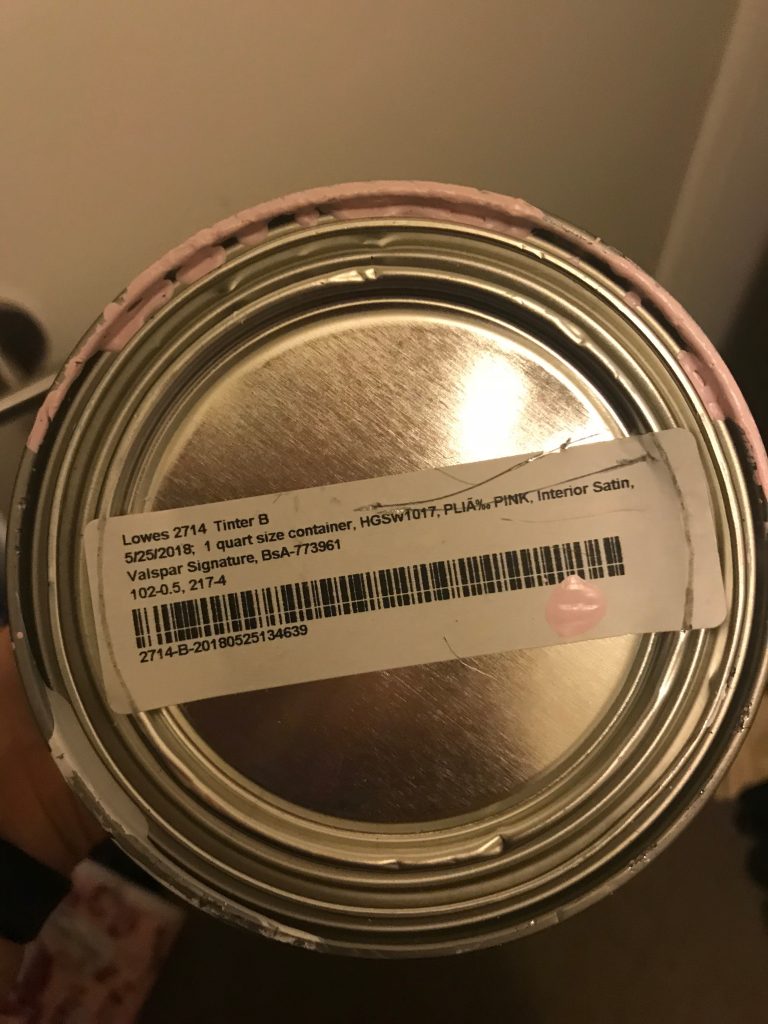
I painted the pieces of the dresser using a brush. I did 1 layer on every piece then went over it for a 2nd layer. I left the pieces on the drop cloth over night and the next day in the sunlight looked them over again and added any additional paint that was needed.
Be sure to paint the top part of the drawer and a few inches of the inside of the part that holds the drawers since it will be seen even when they are closed.
IKEA RAST Drawer Pulls
I actually searched all over to find different drawer pulls that were a little bulkier than the Classy Clutter ones, but had no luck.
Any brass handles that were bigger had 2 piece insertion instead of 1. Even though I wanted the bolder look with a bigger pull, I’m still happy with how it came out with these Gold Single Hole T Bar Brass Cabinet Knob Drawer Handle Pull 2″ (50mm) brass pulls from Amazon ($12).
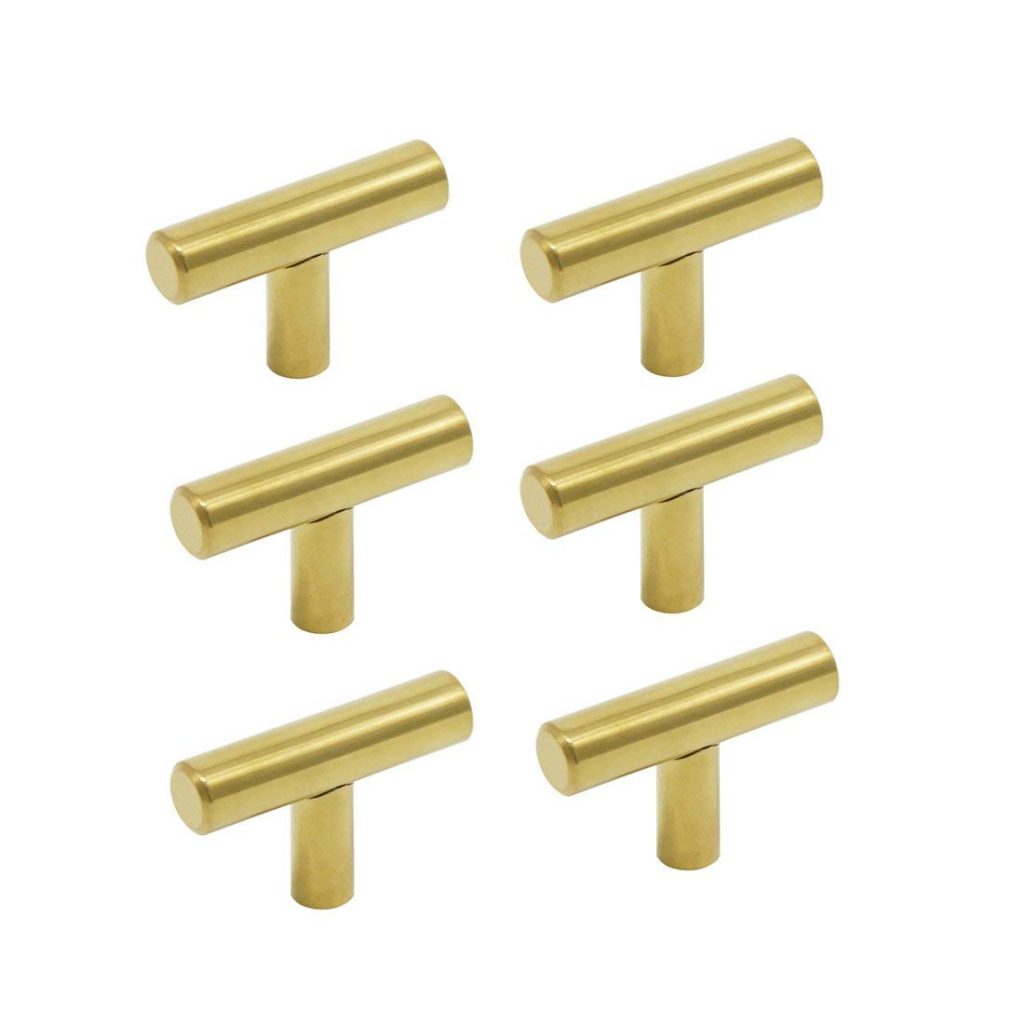
Whatever pulls you get remember that you need 6.
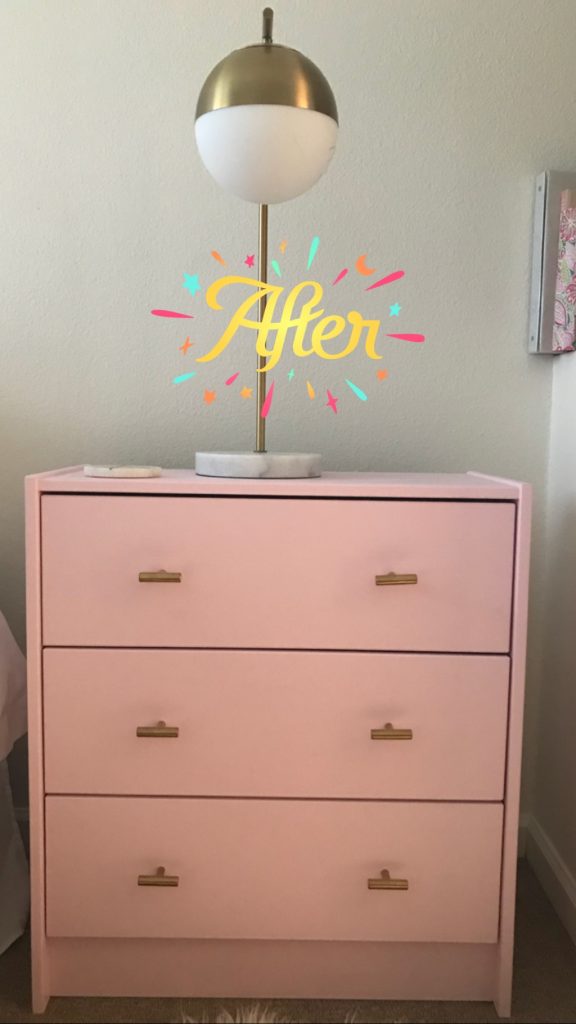
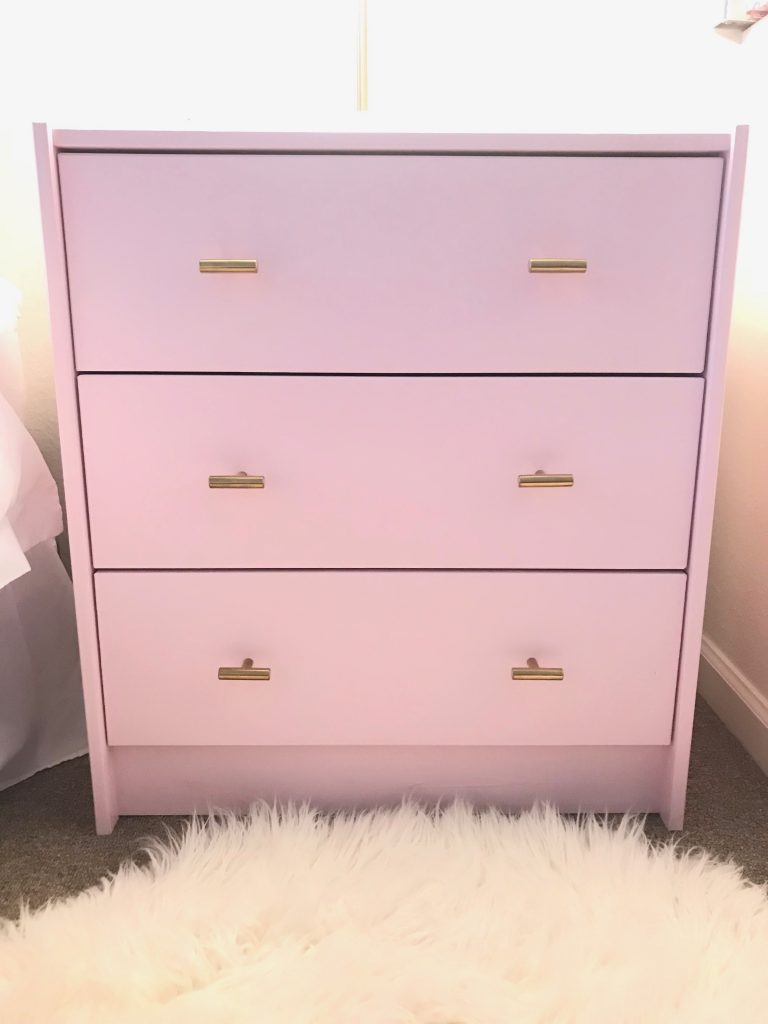
DIY IKEA RAST Pink Nightstand
Here’s the completed look!
My friend gave me some good advice while doing this project- she said even if there are mistakes or it’s not perfect it adds character and reminds you of the process of the project. You will feel so accomplished after you put this together! Plus it was about $80 total so even if it comes out terrible it’s not a huge loss $ wise!
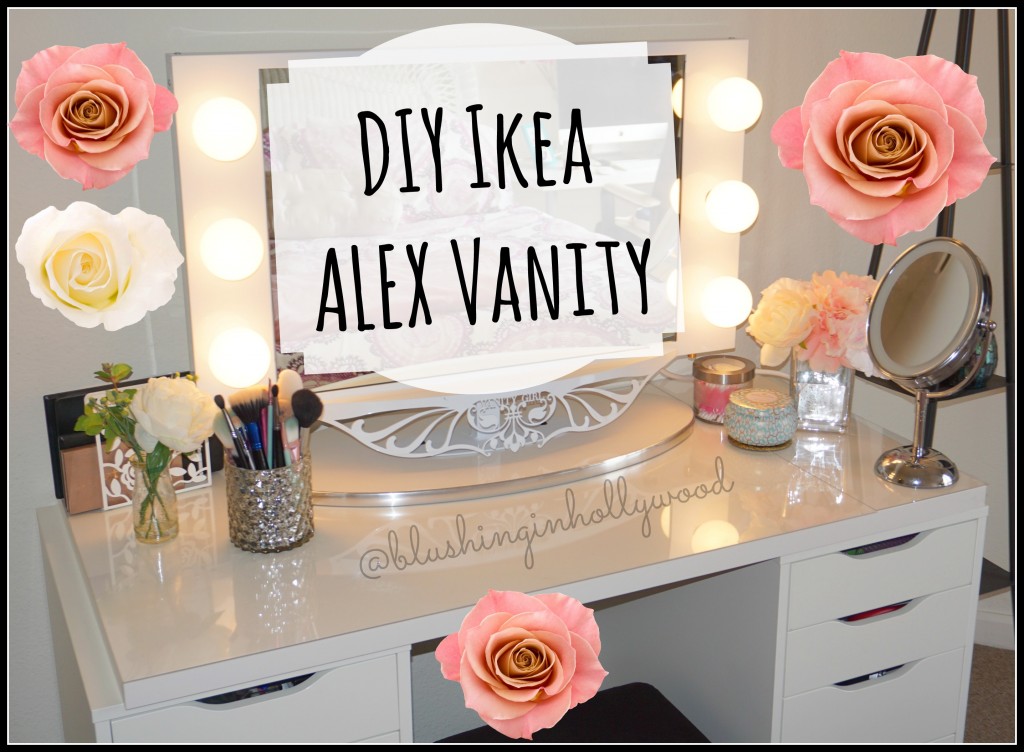
Be sure to check out my DIY Ikea ALEX Vanity post for more home inspo.
Disclosure: This post contains affiliate links. Read more about what that means and how it works on my Disclosure page. Thank you for your support!
3 thoughts on “DIY IKEA RAST Nightstand”