False lashes, fake eyelashes, strip lashes, individual lashes, faux mink lashes, etc. etc. etc. can be scary. There’s glue right next to your eyeball and there’s always the fear that you’ll destroy your entire makeup look when you apply them. I’m going to break down how to apply false lashes including my best tips and tricks for optimum results.
What You’ll Need
Disclosure: This post contains affiliate links. Read more about what that means and how it works on my Disclosure page.
Natural Lashes
Start off with some natural looking falsies which are sometimes called “natural” or “wispies” somewhere in the name.

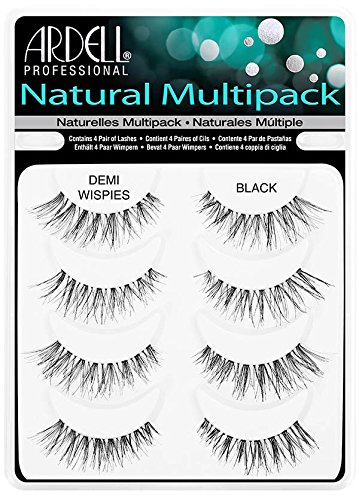
Ardell Natural Demi Wispies
Ardell makes some great cheap ones which you can find at most drug stores. If you’re a first timer I’d recommend getting a multi-pack like this so if you make a mistake you have a backup.
Related Post: October Favorites including House of Lashes False Lashes in Iconic
Eyelash Glue
House of Lashes Eyelash Adhesive
The House of Lashes Eyelash Adhesive in White is my all time favorite eyelash glue and I highly recommend it. This glue is TOUGH. Don’t be afraid of the white because it will dry clear. It’s also latex free so it’s less irritating to the eyes and won’t give you an allergic reaction. I also like that this glue dries quickly so you don’t have to wait for it to get tacky or accidentally smear the glue because it’s still wet.
The House of Lashes Eyelash Adhesive in White is my all time favorite eyelash glue and I highly recommend it. This glue is TOUGH. Don’t be afraid of the white because it will dry clear. It’s also latex free so it’s less irritating to the eyes and won’t give you an allergic reaction. I also like that this glue dries quickly so you don’t have to wait for it to get tacky or accidentally smear the glue because it’s still wet.
The only problem is that it’s only available at Sephora (and isn’t always in store) or online.
Related Post: How to Take Great Photos Selfie Secrets (Hint: ALWAYS wear a lash!)
DUO Eyelash Adhesive
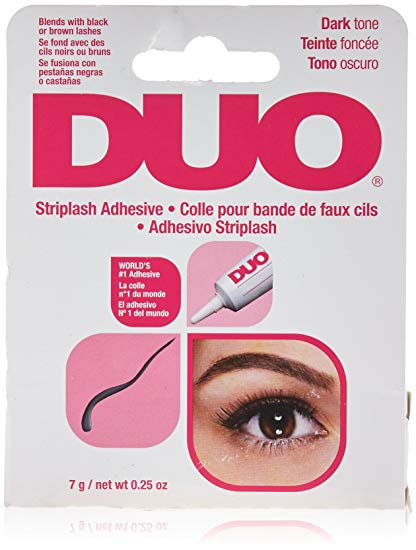
If you’re at CVS and the wedding you need the lashes for is tonight then you’re going to want to pick up the DUO Eyelash Adhesive in dark.
If you’re at CVS and the wedding you need the lashes for is tonight then you’re going to want to pick up the DUO Eyelash Adhesive in dark.
Related Post: DIY Lash Extensions
Tweezers
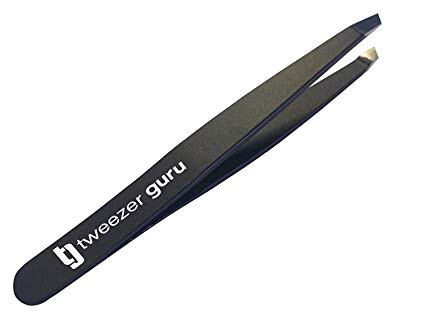
I also recommend you use tweezers to help you apply the lashes. I have these Tweezer Guru ones from Amazon that work well.
How to Apply False Lashes
Prepping to Apply Lashes
if you’re new to lashes or just learning I recommend starting with no eyeshadow or liner and just make sure your eyelid is clean and dry (not oily). if you’re more experienced you would apply your eyeshadows and liner before these steps.
Put the Lash Glue on the Plastic to Let it Get Tacky
Open your lashes packaging, but don’t discard. If you’re using DUO Eyelash adhesive put a dot of glue onto the plastic part of the package [do not do this with the House of Lashes Glue!]. You’re going to leave the glue on the package for the next few steps because you want it to get a little tacky which takes a while.
Some people squirt the glue right onto the lashes, but I find that it’s much harder to control that way and you’ll get too much on some parts and not enough on others. With the House of Lashes Lash Adhesive it comes with a brush which you can just brush on to the band of the lashes.

Related Post: My Eyelash Extensions – FAQs, Tips, and Tricks
Measuring the Lashes
Take the lashes (they should not have any glue on them at this point!) and place them on top of your own lashes where you would want them. The shortest part of the lash should be by the inner part of your eye/closer to your nose. Be sure you don’t mix up the right and left lashes.
Trimming the Lashes
Now look at the outer corner of your eye and get an idea how much you need to trim in order to get them to stop right there. Take them away from your eyeball and cut them with cuticle scissors or regular scissors.
Be sure that you’re cutting the long end of the lashes because if you cut the wrong side they will be too long on the inner corner and will stab your lid all night long.
Apply Mascara to Your Natural Lashes
Now that your lashes are trimmed and you have placed them back into the appropriate right/left sections in the packaging so you don’t mix them up it’s time to apply mascara. Apply mascara on your top lashes especially if they are light. You can apply to your bottom lashes as well now, but I usually wait until after the false lashes are applied.
Applying the Glue to the Lash
Either dip the length of the lash band into your now slightly tacky glue or use the back end of the tweezers (not the slanted sharp part) and dip it in the glue then paint a thin layer of glue across the band.
Be careful to not use too much glue and also make sure that you get some on the inner and outer corners since that’s where they lift (start falling off) first typically.
Applying the Lashes
Apply the Center of the False Lashes First
Pick the lashes up in the middle (on the lash part not the band) with your tweezers and place the middle part of the lash band onto the middle of your own lash line as close to your own lashes as possible.
Tip: You might want to do this while looking down into a magnifying mirror so you can see what you’re doing.
Apply the Inner and Outer Corners of the False Lashes
Take the inner corner of the lashes and use the tweezers to put it in place. Next put the outer corner in place near your lashes. At this point you may want to pull them out towards the outer corner of your lash line slightly because it’s better to have them closer to the outer part of the eye than the inner part.
Combine Your Natural Lashes Together With the False Lashes
Push the lashes straight in with your finger to ensure that the entire band of glue is connecting to your lid and carefully take the tweezers and press your lashes and the falsies closer together. Once the lashes are no longer sliding around push the lashes up from underneath with your fingers to fan them out.

After the Lashes are Applied
Apply Mascara
Add another coat of mascara to blend the fake and real lashes.
Apply Eyeliner
If you didn’t get the lashes as close as you wanted to yours you can close any gaps with black liquid or gel liner. You want to apply eyeliner (even just a thin line) on top of the false lashes to cover the band.
When you look down you don’t want people to be able to see your dusty eyeshadow or the glue from the last time you wore the lashes so cover it up with liquid, pen, or gel eyeliner.
Allergy Medication
Take an allergy pill if you’re like me and your eyes are constantly watering when they come in contact with the outdoors.
Related Post: How to Conceal Dark Undereye Circles
Take Your Tools With You
Pack your tweezers, lash glue, and a small mirror into your purse in case you need to fix the lashes at any point. You are now committed to these lashes and have to be in it for the long haul or else you’ll look like this:
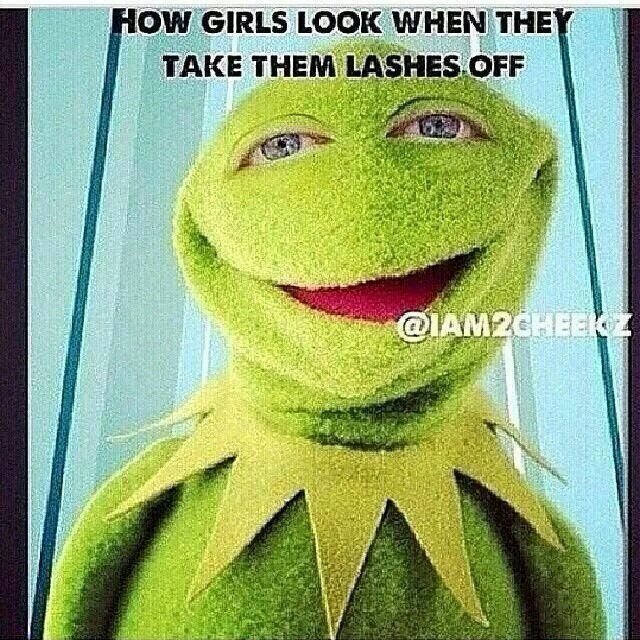
Shoutout to Girl Get Glamorous for finding this amazing meme.
Removing False Lashes
Yay you made it through the whole day or night with your lashes on! Not always an easy feat! You want to remove your lashes very gently.
Eye Makeup Remover
Take some eye makeup remover onto a cotton ball or round and hold it on for a few seconds to loosen the glue. Gently pull the lashes off of your eyes.
Saving False Lashes to Reuse
Slowly and gently peel the glue off of the false lash band. Put them back into their original package because you can reuse them!
I hope you enjoyed this intro to falsies and maybe even learned a new little trick! I will do more posts on lashes down the line like where to find good cheap lashes, how to apply individuals, how to stack lashes for a dramatic effect etc.

If there are any topics you’d like me to cover on Blushing in Hollywood please comment below!


15 thoughts on “False Lashes for Beginners”