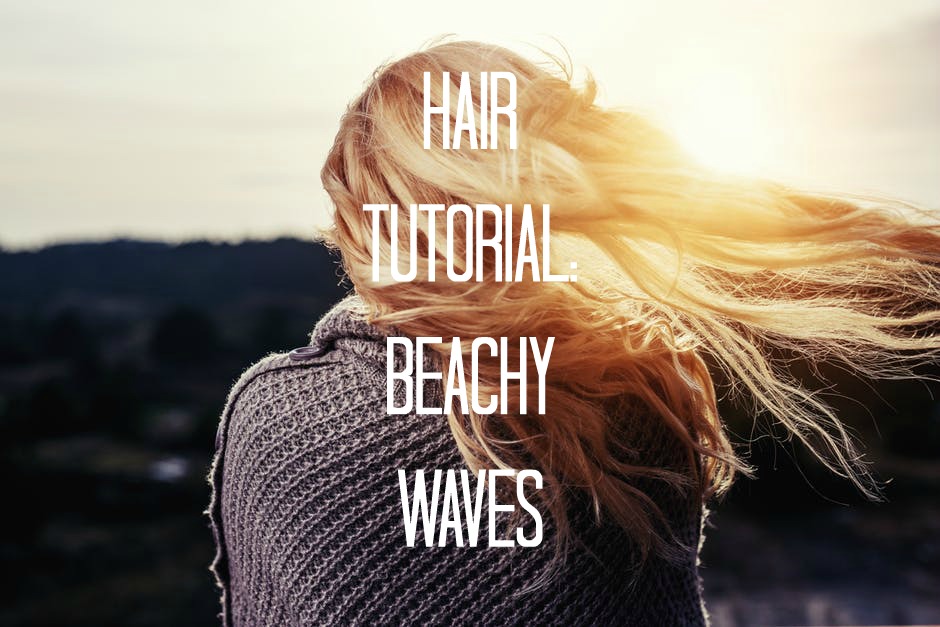
Today we have a special guest post by Joana Teixeira. I asked her for help on getting Jessie James Decker’s beautiful loose beach waves i.e.:
and she was nice enough to write up the following tutorial! Enjoy!!
Heading into the autumn months it can feel like all the possibilities of summer are slowly seeping away. Those long, sunlit evenings, days by the beach and summer holidays abroad… When we think about the dark, gloomy weather that is about to come our way it can all feel a little bit depressing.
But it really doesn’t need to! There are lots of ways to maintain the spirit of summer even in those dark, wintery months. Why not pay homage to the god of all things beachy and sunny by re-creating summer hairstyles this fall? Get yourself some sun kissed locks and a casual sea-salt look. To keep the essence of summer alive why not try out a beautiful beach waves style? This classic occurs naturally after you’ve been in the sea, but it’s also recreate-able from the comfort of your own living room even in the depths of Fall.
To help you get this look here’s my own handy guide. I’ve got everything covered whether you want to know how to curl short hair or long hair, whether to use curling tongs or just a simple overnight twist.
Step 1: Clean and dry
First things first, get your hair nice and clean. Shampoo twice and condition the ends. [Note from Lindsay: I’ve been obsessed with Pureology Hydrate Shampoo and Pureology Hydrate Sheer Conditioner. This stuff is so concentrated and amazing it’s like no other shampoo and conditioner I’ve used before. I also am still using the DryBar Double Standard Cleansing and Conditioning Foam which I talked about in my The Best Drybar Hair Products and Tools at the Nordstrom Spring Beauty Event post.]

This will ensure that the strands are supple enough to withstand styling and avoid any breakage. For some people their locks look better the day after a wash so if this is you, make sure to plan in advance and get your hair nice and clean at least 24 hours before you plan to style it.
Step 2: Partition your hair into segments
Next step is to take some large crocodile clips and start sectioning your hair out into segments. [Note from Lindsay: I recently splurged on the Drybar ‘Hold Me’ Hair Clips ($16) and love them for sectioning off my hair for styling, keeping hair out of my face while doing makeup, and for keeping my hair in a loose bun as I sleep without any kinks.]
 If you want to know how to curl short hair, this is one of the stages where it might be trickier than those with long locks. Essentially it should still be possible to separate out different sections of hair, but you might need smaller clips and to do so in skinnier sections. [Note from Lindsay: Try these DevaCurl DevaClips Root-Lifting Curl Clips ($14). They can both section off the hair or hold the curl while it cools and sets if you’re doing a style with tighter curls.]

This stage is important however because it will enable you to curl bit by bit giving an even, natural looking wave.
Step 3: Use curling tongs aka a curling iron
Right, now for the real action: get your curling tongs and curl one segment at a time. [Note from Lindsay: I recommend the ghd curve Soft Curl Iron ($199). It heats up in 20 seconds, only goes to the optimal temperature to curl and keep the curl, but minimize damage to the hair, and the ceramic coating prevents snags.]

To do so twist the hair in your hand then wrap the twist around the tong (if you lie hair flat on the tong it will give you a ringlet curl which is not the look you’re going for right now). Hold the twists in the tong for a couple of seconds then release and most crucially, pull the curled strand out straight afterwards to create a casual beach-style wave rather than anything tighter. [Note from Lindsay: You may remember the pulling the hair out straight afterwards from my Soft Waves Hair Tutorial] Step 4: Volumizing spray
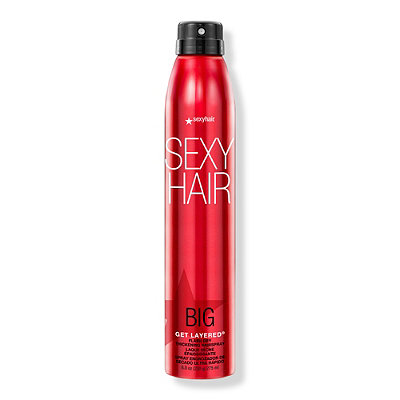
Once you’ve curled each section individually give your hair a good shake and then apply product. Some kind of spray or cream is important at this stage to hold the look and give it much needed texture. [Note from Lindsay: I love to use Big Sexy Hair Get Layered Spray (~$10). I lift up my hair in layers and spray in between for lots of volume with a medium hold. If you haven’t tried this stuff I highly recommend it!]
If you’re not sure what to use go for dry shampoo followed by hair spray in the first instance. [Note from Lindsay: My ride or die dry shampoo is Batiste in the “Wild” scent (~$8) I buy multiples of this I can’t live without it!]

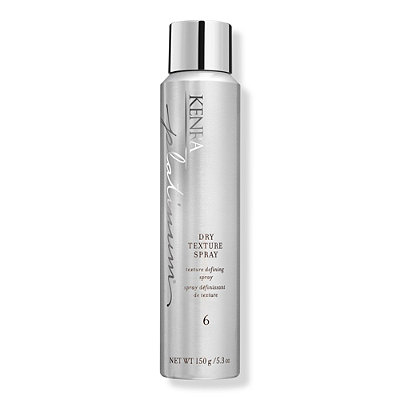
This will provide volume and hold. However, there are some great volumizing sprays on the market and with a bit of trial and error you’re likely to find one that suits your hair type. [Note from Lindsay: My favorite texturizing spray is Kenra Dry Texture Spray 6. It smells amazing and gives your hair texture and volume. Definitely use hairspray too though since this product doesn’t give you a ton of hold.]
Alternative methods
Voila, beautiful beach-style curls. Curling tongs are a pretty fail-proof method, however if you don’t have any at home you could try curling without the use of heat. Simply wash your hair in the evening and dry it slightly so your hair remains a little damp. Then twist sections of your hair and pin it firmly to your head [Note from Lindsay: I’ve posted a video of how to do this before on my Quick Hairstyles on the Go post]. Sleep with it like this and when you wake up you’ll have luscious casual curls. Shake it out immediately on waking and use spray to keep things in place.
However you do it, by getting that beach curl look you’ll be re-living the beautiful summer months all year long!
Thank you again Joana for the post!
Disclosure: This post contains affiliate links. Read more about what that means and how it works on my Disclosure page.


One thought on “How to Get the Look: Beach Waves”