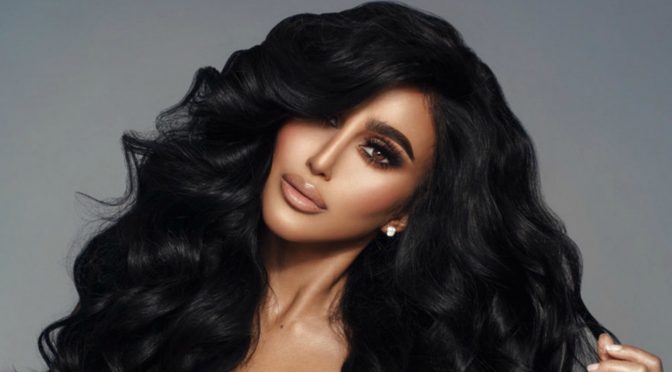
So when we left off on Part One of this Lilly Ghalichi makeup tutorial we had a full face of foundation, a bronzed smokey eye, two pairs of false lashes, and now it is time to beat our faces with TONS of super dramatic highlighting and contouring. Here was the final look we are trying to achieve:
Related Post: Lilly Ghalichi Makeup Tutorial Part One – Skincare, Foundation, Brows, and Bronze Smokey Eye
Before the next step, you want to use a makeup remover wipe to remove any eye shadow fallout under the eye.

Highlighting the Face With Concealer
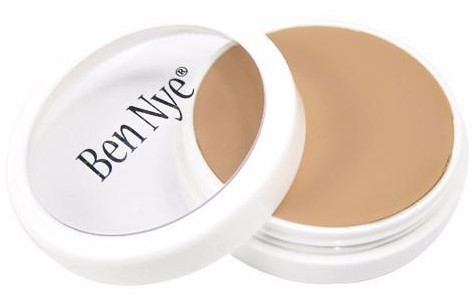
Bria used Ben Nye Creme Foundation in the color Lite Japanese to both conceal AND highlight under Lilly’s eyes. You should use a color 3-4 shades lighter than your foundation if you want it to look super dramatic.
Undereye Concealer
Cream Concealer
Another one of the big tips that I learned by watching this is to get the best possible under-eye coverage you should layer your concealer. The first layer is a creamy concealer. Bria used this Ben Nye Creme foundation as the “creamy concealer.”
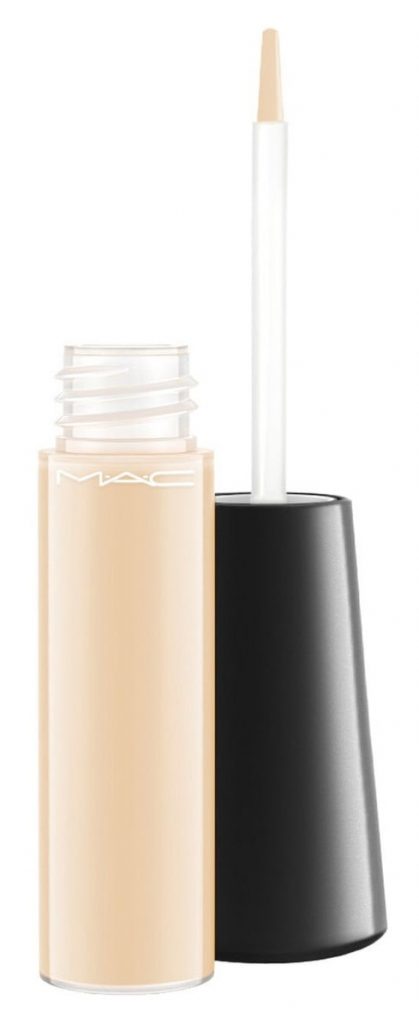
Liquid Concealer
After the creamy one dries you put on a second coat of concealer, this time using a liquid concealer (they used MAC Mineralize Concealer in NC20 $21). This gives the best coverage especially for dark under eyes. Bria blended this all in with a dry beautyblender. I’ll mention here like I did on the last post that the beauty blender is not meant to be used dry and I find it much harder to use it this way, but maybe I just need more practice!
Related Post: How to Cover Dark Undereye Circles
Nose Highlight
Bria applied the Ben Nye concealer in a thin line down the bridge of the nose, and on the forehead. You can also highlight your chin, your cupids bow, and the sides of your mouth to brighten them as well.
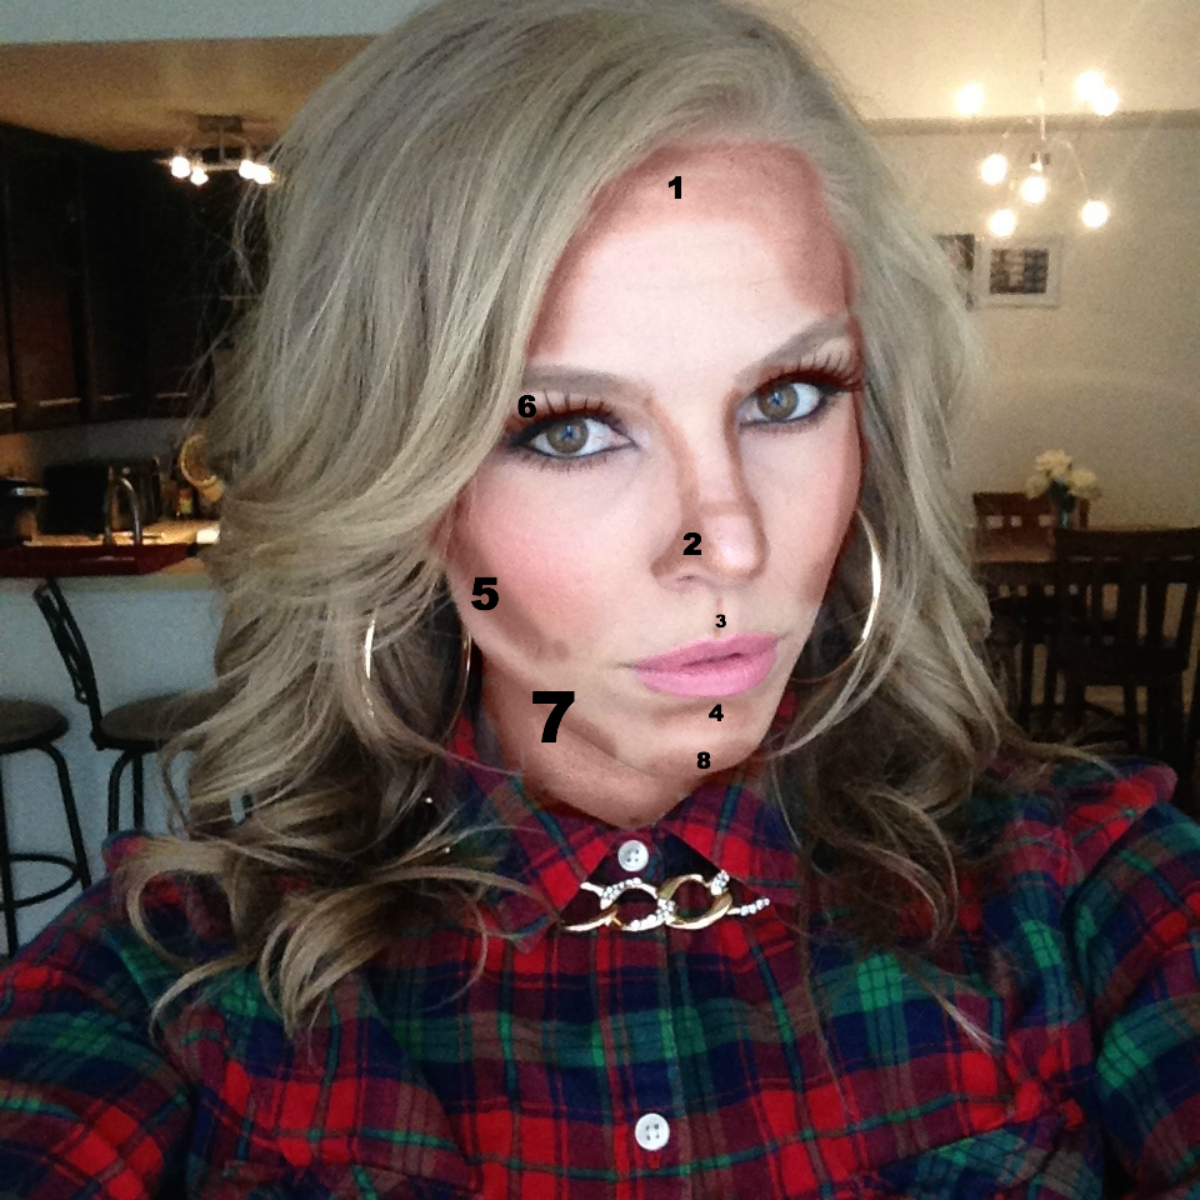
Where to Apply Concealer to Highlight the Face
Here’s a photo of me and I have used yellow to show you where you would apply a highlighting concealer color.

Related Post: How to Contour
How to Highlight With Concealer Like Kim Kardashian
This is also how Kim Kardashian achieves her glow. She posted this picture on her Instagram a while back to show how she does it:

Why Highlight the Face With Concealer?
When you highlight a part of your face you are emphasizing a feature that you want to draw other people’s eyes to. Most of our eyes are gorgeous, especially after we spend a decent amount of time perfectly blending 20 different shadows up there, so highlighting under the eyes will put that on display. Think of this triangle of highlight under the eye as two little gold serving trays shining light up to your eyeballs.
Setting the Concealer with Powder
After she concealed and highlighted Bria applied a 50/50 mixture of MAC’s Prep + Prime Transparent Finishing Powder ($26) and Ben Nye Luxury Powder in Banana ($15). Kim Kardashian is also a big fan of Banana powder.
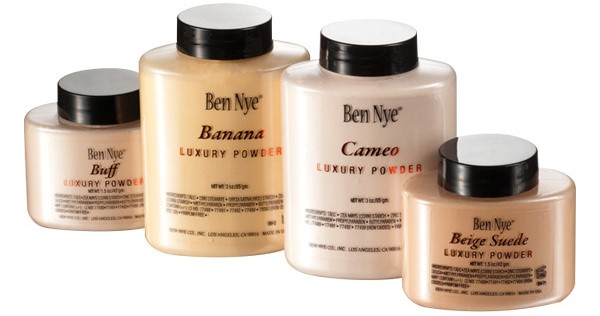
I own and use the Ben Nye Translucent Face Powder in Fair or Ben Nye Luxury Powder in Cameo because I am much much more fair than these two beauties. I also have pink undertones where they have yellow undertones and olive complexions. The banana powder is a great highlight if you are tan, if you are not be sure to at least mix it with a more pink based shade.
She used the Sigma F86 Tapered Kabuki brush ($24) to apply the powder. The Sigma F86 Tapered Kabuki brush used to apply powder under eyes to set concealer.
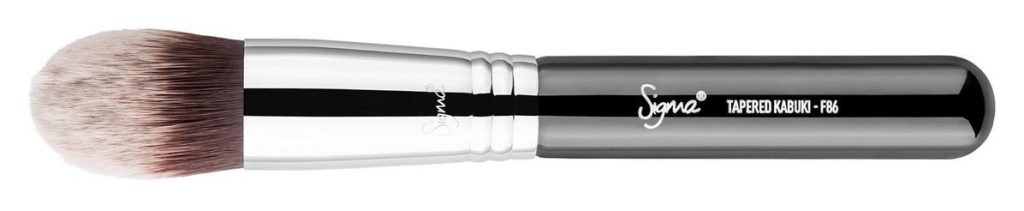
Applying the powder gives an extra punch of highlight and also makes sure your concealer stays put all night. The Ben Nye powder is very finely milled so when applied right it helps prevent creasing as well.
Contouring
Bria used both a cream contour and then set with a powder contour (similar to the highlighting technique) on Lilly.
Cream Contour
First she applied the cream contour using MAC Pro Sculpting Cream in Copper Beech (~$20 and only available at MAC Pro stores!). There is a really great post with swatches and reviews on the Pro Sculpting Creams on the Temptalia blog.
Nose Contour
She applied the contour to basically the exact places I describe on my How I Contour My Face post. The main difference was that she did not draw the line across the bridge of the nose, but she did draw the two lines down the sides of the nose very close together to give Lilly a “non-surgical nose job” and make her nose looks very small and thin.
Related Post: Beauty Trends: Cream Contour
Cheekbone Contour
When Bria was contouring Lilly’s cheek bones she also cupped them a bit more. Bria extended Lilly’s cheek contour up in a U shape at the end near the mouth to cup her cheek.
Contouring the Perimeter of the Face
Bria concentrated more color towards to outer parts of Lilly’s face like near her ear.
Contour Brush
Bria placed the contouring product using Ve’s Favorite Brushes Fantasy Paint brush.

Blending Contour With a Beautyblender
After she placed the product where she wanted it she blended this all in very gently with a damp beauty blender. You want to be very gentle because you want to keep the contour where you placed it otherwise you will look like a muddy dirty mess.
Related Post: How to Contour Your Face
Setting the Contour with Powder
Powder Contour
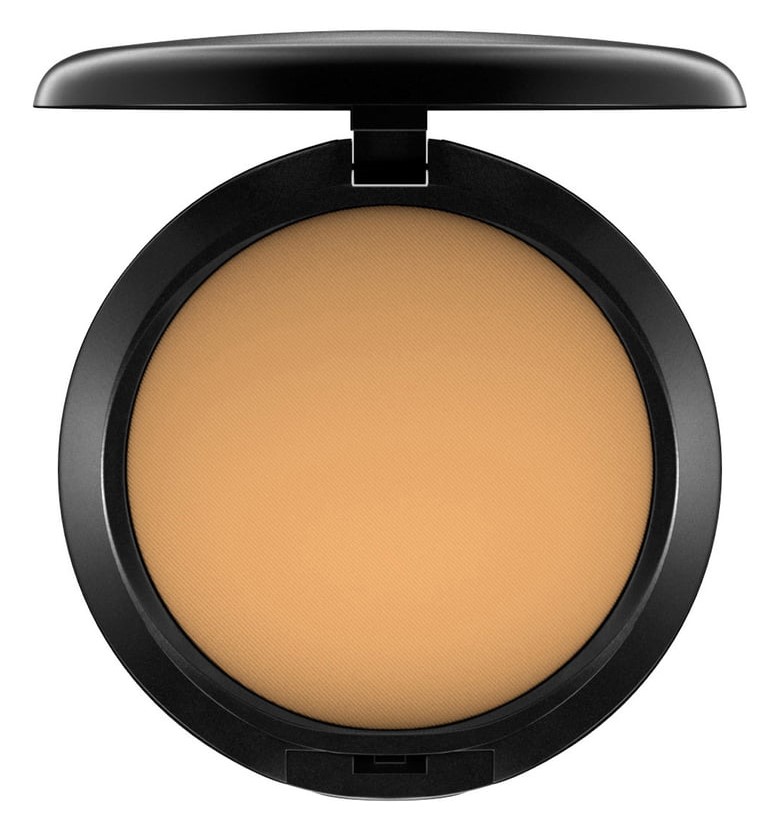
Once the cream contour was in place, she put a powder contour on top to intensify the look and make sure that it lasted. She used MAC Studio Fix Powder in NW45 ($27 here) which is about 4 shades darker than Lilly’s foundation color.
Brush for Powder Contour
She applied it with a Sigma F25 Tapered Face Brush ($33) and applied the powder in a back and forth motion on top of the cream contour. They recommended using the softest brush possible for contouring so that you do not pick up too much product and end up muddy. Doesn’t that Tapered Face Brush just look so pretty? I might need to add it to my shopping list as well…
Blending the Highlight and Contour
Powder Foundation
Bria then recommended using MAC Studio Fix Powder around the concealer to blend the foundation, the contour, and the concealer. She did not apply much powder to Lilly’s face because she said Lilly has normal skin and does not really need it.
More Lilly Ghalichi Blog Posts
I think this was more than enough info for Part Two. Check out Lilly Ghalichi’s Tips and Tricks Part Three which includes how to get that Lilly glow, finishing up the eye makeup, Lilly’s favorite mascara, and miscellaneous tips and tricks! And here’s Lilly Ghalichi’s Tips and Tricks Part One in case you missed it!
I also have another post all about Beauty Trends: Cream Contour.
Disclosure: This post contains affiliate links. Read more about what that means and how it works on my Disclosure page.
15 thoughts on “Lilly Ghalichi’s Makeup Tutorial Part Two – Highlighting, Concealing, and Contouring like Kim Kardashian”